If you’ve ever wondered how to convert Bank Statements to Excel, CSV, or QBO you’re not alone.
Busy professionals often need to import transactions into their accounting software, and while setting up bank feeds or downloading files directly from your bank’s website can be straightforward, dealing with older transactions or PDF and scanned copies of statements can be a challenge.
Luckily, by using a bank statement converter with OCR (optical character recognition) technology, you can easily convert bank statements to Excel or CSV formats.
And as a busy professional, you don’t have the time to manually enter all this information. Thankfully, there’s a better way. You can use DocuClipper to automatically import the bank statements into Excel or your accounting software.
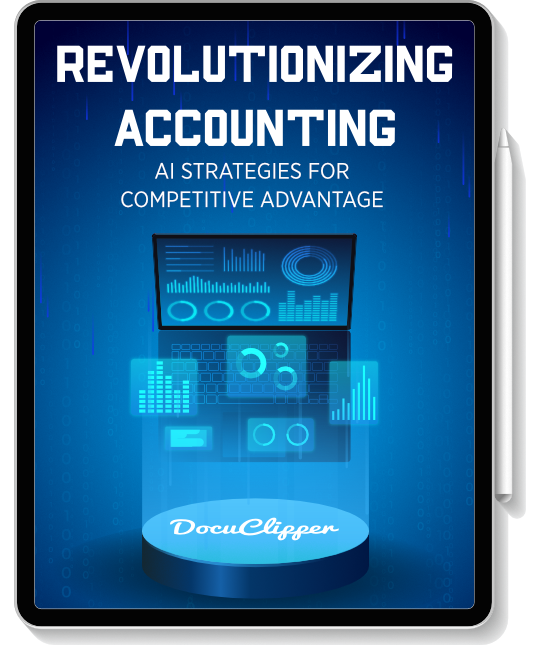
Learn to simplify accounting with AI technology in our eBook!
For those interested, this process also applies when you’re learning how to convert PDF credit card statements to Excel or CSV.
Step 1: Select the Bank Statement Converter
The first step how to convert PDF bank statements to Excel or CSV using DocuClipper is to login into the platform and select “Bank & Credit Card Statements”.

Drag and drop one or more statements. DocuClipper bank statement OCR works with any text or scanned bank statement. It uses Optical character recognition technology to be able to read scanned statements. You can process multiple statements at the same time.
Click on convert.

Step 2: Transactions are Extracted Automatically
DocuClipper Bank Statement converter extracts all the transactions, creating a comprehensive bank extract that includes other data like balances, dates, account numbers, etc.

Step 3: Reconcile the Bank Statements
The next step is to reconcile your bank statements.
DocuClipper bank statement reconciliation compares transaction totals to summary information on the statement. If everything checks out, the statement is identified as reconciled, saving you time and manual review. You can see the reconciliation status on the summary table (top right of the page).
Here’s a video showing how to reconcile the statements:
Step 4A: Convert Bank Statement to Excel
Click on “Download data”. Select “Excel” as the output format. Select XLSX. Click on “Download Data” and the spreadsheet will be downloaded to your computer.
Step 4B: Convert Bank Statement to CSV
Click on “Download data”. Select “Excel” as the output format. Select CSV. Click on “Download Data” and the spreadsheet will be downloaded to your computer. Additionally learn more about How to Convert PDF to QBO.

Step 5: Configure the Output Format
With DocuClipper, you can choose which columns to include in the output. Supported fields are “date”, “date2”, “amount”, “debit”, “credit”, “balance”, “account number” and more.
Here’s a video showing how to download the data and customize the output format:
Conclusion
Knowing how to convert PDF bank statements to Excel or CSV can save you hours, days, weeks, and sometimes even months of work.
And DocuClipper makes this super easy as it is one of the best bank statement converter software.
In fact, DocuClipper is considered the easiest OCR bank statement converter on the market with our automatic bank statement recognition feature.
With that, we are able to automatically recognize 1,000s of different bank statements around the world.
Here you can see our list of supported banks.
For more information read our other guides:
- How to Manually Import Bank Transactions Into QuickBooks Online
- How to Manually Import Bank Transactions into QuickBooks Desktop
Frequently Asked Questions about How to Convert PDF Statements to Excel or CSV
Here we discuss some of the most commonly asked questions when it comes to converting PDF bank statements to Excel or CSV.
Can you export a bank statement to Excel?
Yes, you can export a PDF bank statement to Excel. Utilize tools like DocuClipper, which streamline the process by converting your bank statement PDF into an organized Excel spreadsheet, making financial data management easier and more efficient.
How do I convert bank statement text to Excel?
To convert bank statement text to Excel, use OCR software like DocuClipper. This tool automatically extracts and organizes text data from your bank statement, generating a user-friendly Excel spreadsheet for efficient financial management.
What software converts bank statements into Excel?
DocuClipper is a software that converts bank statements into Excel. This powerful tool extracts and organizes data from your bank statement, generating a structured Excel spreadsheet for efficient bank statement analysis and tracking.
Can DocuClipper convert PDF bank statements to Excel?
Yes, DocuClipper can convert PDF bank statements to Excel. By leveraging its OCR technology, DocuClipper extracts and organizes financial data from your PDF statement, creating a user-friendly Excel spreadsheet for easy data management.
Can DocuClipper convert PDF bank statements to CSV?
Yes, DocuClipper can convert PDF bank statements to CSV. The software utilizes OCR technology to extract financial data from your PDF statement and generate a CSV file, enabling seamless import into various financial tools and applications.
Can DocuClipper convert credit card statements to Excel?
Yes, DocuClipper can convert credit card statements to Excel. The software’s OCR technology efficiently extracts and organizes transaction data from credit card statements, generating a structured Excel spreadsheet for easy financial management and analysis.
Can DocuClipper convert scanned bank statements?
Yes, DocuClipper can convert scanned bank statements. Utilizing advanced OCR technology, the software accurately extracts and organizes data from scanned documents, transforming them into structured Excel spreadsheets or CSV files for efficient financial tracking.
Can DocuClipper convert several statements at the same time?
Yes, DocuClipper can convert several statements simultaneously. The software’s batch processing feature allows you to upload multiple bank or credit card statements, efficiently converting them into Excel spreadsheets or CSV files for streamlined financial management.