Webhooks: Events and Payloads
Full reference for DocuClipper webhooks: event catalog, payload shape, signature verification in Node.js and Python, and retry behavior.
Last updated
Webhooks let DocuClipper notify your systems when work finishes. When a document is extracted, DocuClipper sends an HTTPS POST to a URL you control with a JSON body. Your server handles the rest.
This page is the reference for what events exist, what each payload looks like, how to verify signatures, and how retries work. For day-to-day setup steps, jump to Creating a webhook.
When to use webhooks
- You want real-time status updates instead of polling the DocuClipper API.
- You're pushing extracted data into a CRM, accounting system, or warehouse.
- You're triggering downstream automation in tools like Zapier, Make, or n8n.
If you only need a basic export to QuickBooks or Xero, a direct download or an automation with a cloud-folder output is simpler.
Event catalog
DocuClipper currently emits these extraction-completed events:
| Event | When it fires |
|---|---|
document.extraction.completed | Extraction finished for a document of any type. |
bank_statement.extraction.completed | Extraction finished for a bank statement specifically. |
invoice.extraction.completed | Extraction finished for an invoice. |
form.extraction.completed | Extraction finished for a tax form (W-2, 1099, etc.). |
The three type-specific completion events (bank_statement.*, invoice.*, form.*) fire alongside document.extraction.completed. Subscribe to whichever level of granularity fits your handler. The in-app Create Webhook dialog lists these four events.
The following event types are also defined in the catalog and can be subscribed to via the API, but are not emitted yet — build against them only if you're prepared for them to start firing later: document.uploaded, document.extraction.failed, document.deleted, account.limit.approaching, and fraud.detected.
To get the full list programmatically, call GET /api/v1/agent/webhooks/events.
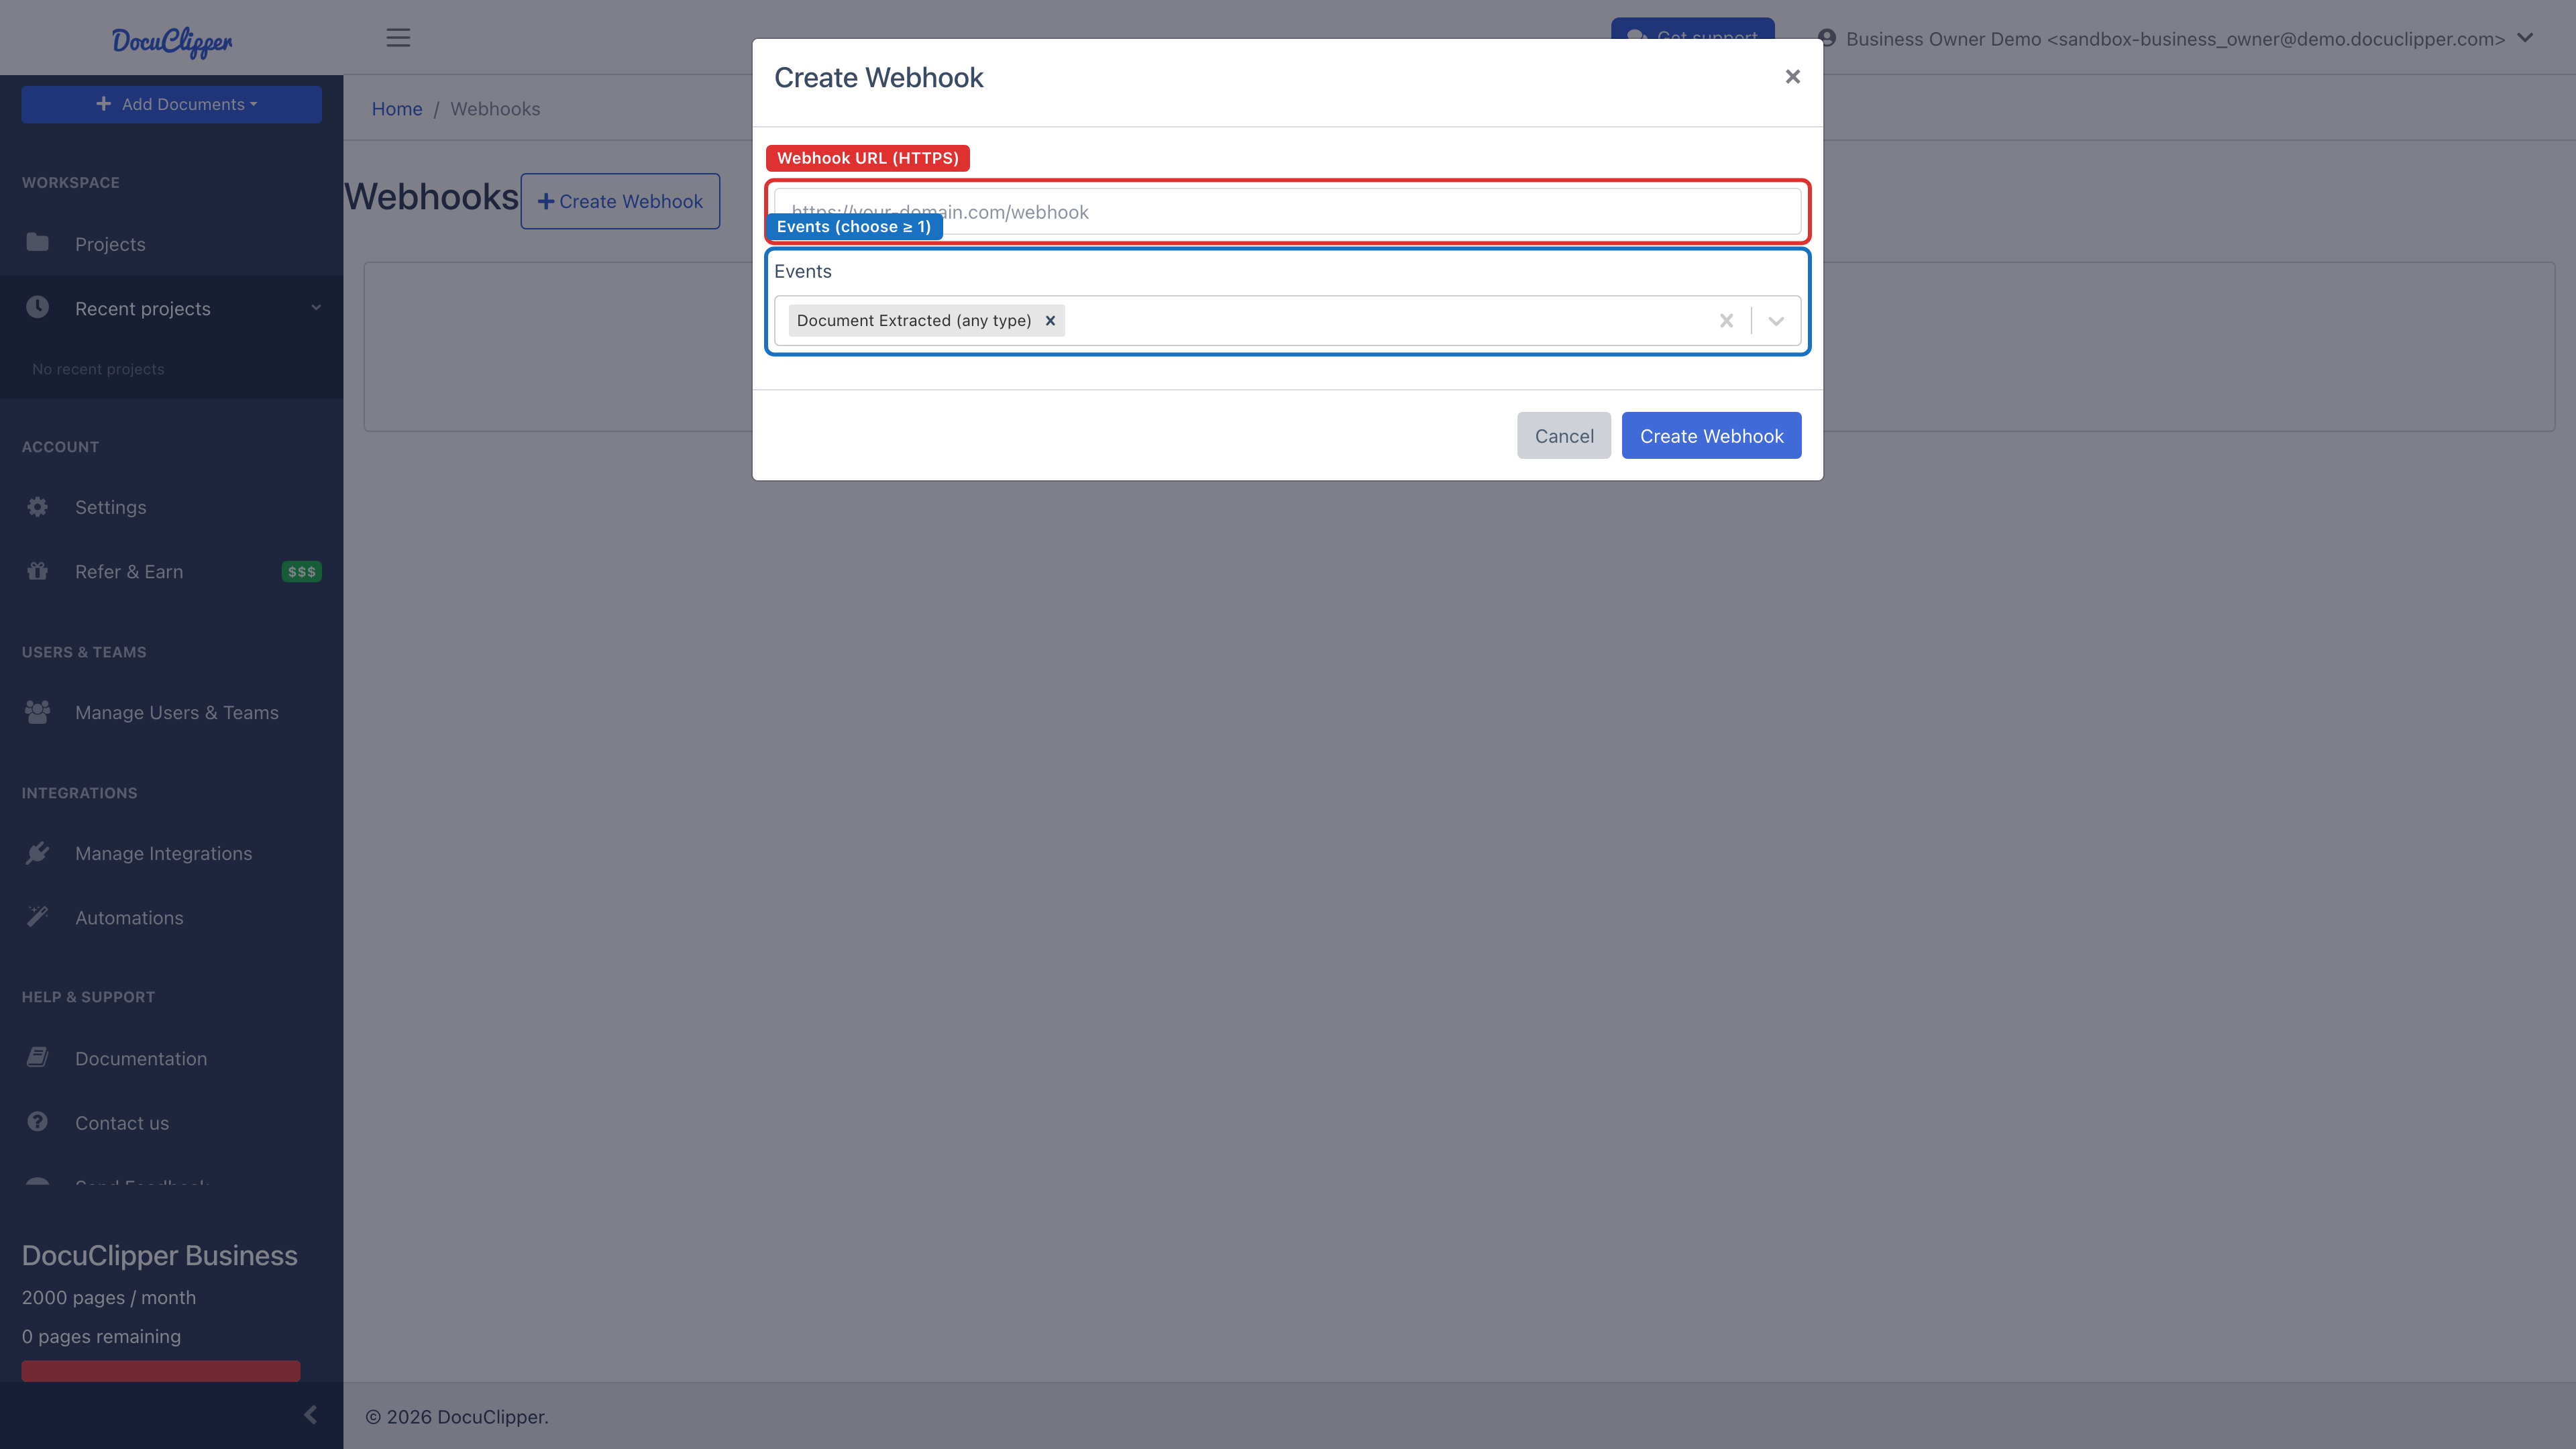
Creating a webhook
You can create webhooks from the UI or the API.
From the UI:
- Open the Webhooks page.
- Click Create Webhook.
- Paste the target URL. The URL must be a valid HTTPS URL and respond with a 2xx status within 10 seconds.
- Choose which events to subscribe to (at least one).
- Click Create Webhook. DocuClipper shows the signing secret exactly once — copy it now. You can rotate it later but you cannot read it again.
From the API (with a Personal Access Token):
curl -X POST https://www.docuclipper.com/api/v1/agent/webhooks \
  -H "Authorization: Bearer $DOCUCLIPPER_PAT" \
  -H "Content-Type: application/json" \
  -d '{
    "url": "https://example.com/hooks/docuclipper",
    "events": ["document.extraction.completed", "document.extraction.failed"]
  }'
The response includes the secret once, with secretShownOnce: true. Store it in your secrets manager.
Payload shape
Every delivery is a POST with a JSON body and the following headers:
| Header | Meaning |
|---|---|
Content-Type | Always application/json. |
X-DocuClipper-Event | Event name (e.g. document.extraction.completed). |
X-DocuClipper-Event-Id | Unique delivery ID. Use this for idempotency. |
X-DocuClipper-Signature | HMAC-SHA256 of the request body. See Verifying signatures. |
X-DocuClipper-Version | Webhook version (string). |
The body is a JSON object containing identifying fields plus a data block specific to the event. A document.extraction.completed payload looks like this:
{
  "id": "evt_2gK9...",
  "name": "document.extraction.completed",
  "version": "1",
  "job": { "id": "job_abc123" },
  "user": { "id": "user_xyz789" },
  "webhook": { "id": "wh_456" },
  "data": {
    "doc_abc123": {
      "metadata": [
        { "name": "accountNumber", "value": "****1234" },
        { "name": "statementStartDate", "value": "2024-01-01" },
        { "name": "statementEndDate", "value": "2024-01-31" }
      ],
      "sample": {
        "transactions": [
          { "date": "2024-01-02", "description": "ACH PAYROLL DEPOSIT", "amount": 4521.10, "balance": 4521.10 },
          { "date": "2024-01-03", "description": "RENT", "amount": -1800.00, "balance": 2721.10 }
        ]
      }
    }
  }
}
A document.extraction.failed payload uses the same envelope but the data block contains an error and error_code instead of extracted content.
Note on Zapier URLs. When the webhook destination is on
zapier.com, DocuClipper anonymizes account numbers in the payload before sending. This is the only destination that gets anonymization applied automatically.
You can fire a sample payload at any time with POST /api/v1/agent/webhooks/:id/test, which uses an eventType you specify (default document.extraction.completed) and sample data.
Verifying signatures
Every delivery includes an X-DocuClipper-Signature header containing the HMAC-SHA256 of the raw JSON body, using your webhook's signing secret as the key. The output is a hex string.
The exact computation is:
signature = hex( HMAC-SHA256( secret, JSON.stringify(payload) ) )
Recompute it on your end and compare in constant time. Reject any request whose signature does not match.
Node.js
const crypto = require('crypto');
const express = require('express');

const app = express();
app.use(express.json());

const SECRET = process.env.DOCUCLIPPER_WEBHOOK_SECRET;

app.post('/hooks/docuclipper', (req, res) => {
  const received = req.header('X-DocuClipper-Signature') || '';
  const expected = crypto
    .createHmac('sha256', SECRET)
    .update(JSON.stringify(req.body))
    .digest('hex');

  const a = Buffer.from(received, 'hex');
  const b = Buffer.from(expected, 'hex');
  if (a.length !== b.length || !crypto.timingSafeEqual(a, b)) {
    return res.status(401).send('invalid signature');
  }

  // TODO: dedupe on req.header('X-DocuClipper-Event-Id') and process.
  res.status(200).send('ok');
});
Python
import hmac
import hashlib
import json
import os
from flask import Flask, request, abort

app = Flask(__name__)
SECRET = os.environ['DOCUCLIPPER_WEBHOOK_SECRET'].encode()

@app.post('/hooks/docuclipper')
def handle():
    received = request.headers.get('X-DocuClipper-Signature', '')
    body = json.dumps(request.get_json(), separators=(',', ':'))
    expected = hmac.new(SECRET, body.encode(), hashlib.sha256).hexdigest()

    if not hmac.compare_digest(received, expected):
        abort(401)

    # TODO: dedupe on X-DocuClipper-Event-Id and process.
    return ('ok', 200)
Body encoding. DocuClipper signs
JSON.stringify(payload)from Node, which produces a compact form with no spaces. If your framework re-serializes the body before you compute the HMAC, the signature will not match. Capture the raw bytes (or use the same compact JSON encoding) before hashing.
Idempotency
Use X-DocuClipper-Event-Id as your dedupe key. Retries reuse the same event ID, so a handler that records seen IDs can safely accept the same event multiple times without double-processing.
Retries
A delivery is considered successful when your endpoint returns any 2xx status within 10 seconds. Anything else (including 3xx redirects, timeouts, and 5xx errors) counts as a failure and is retried.
DocuClipper makes up to 3 attempts total (the initial delivery plus 2 retries) with exponential backoff starting at 1 second — the first retry after ~1s and the second after ~2s. After the final attempt, the delivery is marked permanently failed. Because retries are automatic, the most reliable way to recover from a permanent failure is to make your endpoint idempotent (see below) and fix it before the next event fires.
For the delivery log and per-delivery attempt history, see Webhook Deliveries and Retries.
Rotating the secret
If a secret leaks, rotate it from the Webhooks UI or POST /api/v1/agent/webhooks/:id/regenerate-secret. The new secret is shown once. Existing deliveries that were already in flight under the old secret will fail signature verification, so plan a brief cutover window.