How To Extract Data from Utility Bills
Utility bills such as electricity, water, gas, and telecom statements contain essential information used in accounting, underwriting, identity verification, and

Top Fintech Statistics Fintech Market Overview Fintech Segments and Their Growth Statistics Payments Lending Digital Banking & Neobanks
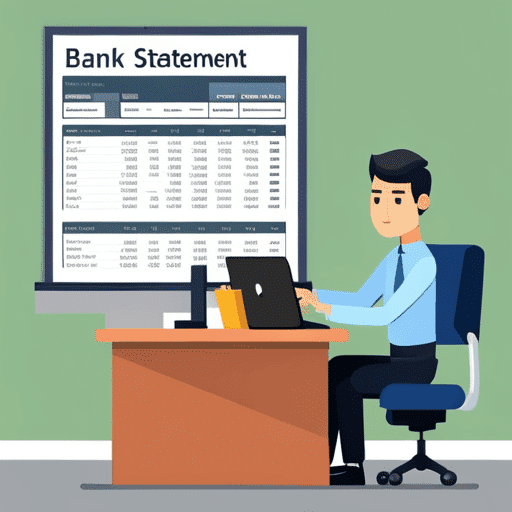
Reviewing bank statements is time-consuming, error-prone, and inefficient—especially when handling large volumes. That’s where bank statement analyzer software

Workflow automation is becoming a critical tool for businesses looking to improve efficiency, reduce manual tasks, and scale

CFOs are navigating an increasingly complex business landscape shaped by economic uncertainty, technological disruption, and evolving responsibilities. Their

If you rely on bank statements for audits, approvals, or financial reviews, even a small error or fake

Handling financial documents like tax forms, bank and credit card statements, payrolls, invoices, and receipts is a routine
Bank statement reconciliation is a vital process in financial management, involving reviewing and verifying the transactions listed on

Discover the best bank statement extraction software to streamline your financial processes. With the curated list of best

Fake bank statements are on the rise and being used for unlawful financial gain. But how can you

Dive into our comprehensive guide on bank statements, a crucial yet often overlooked financial tool. We’ll demystify what

This guide helps you to better understand your bank statements, explaining their purpose, importance, and how to read

Bank transactions are the lifeblood of personal and business finances. Without the ability to deposit, withdraw, and transfer

When managing finances for clients with Citizens Bank accounts, you’re limited to only 18 months of CSV bank

If your client primarily uses Chime, you’ve likely encountered the frustration of not being able to download CSV

If you have clients with an HDFC account and they can’t give you a CSV copy of their

Citibank allows access to up to 180 days of banking activity in spreadsheet format, but for clients with

US Bank provides up to 18 months of transaction history, but for longer tracking needs, you’re often left

Capital One allows you to download bank statements in CSV format through its website, but only for up

RBC allows you to download transactions as CSV, but only for the past 90 to 180 days. Beyond

Working for a client with an M&T bank statement can be problematic as the CSV format can only


In the tech space, many tools are readily available for businesses to exploit and take advantage of to

Choosing OCR vs IDP has been a tough choice for many people. With much technology available today, companies,