Import Bank Statement Transactions into QuickBooks Desktop (Web Connect)
Export a QBO Web Connect file from DocuClipper and import it into QuickBooks Desktop, including how to handle the 'Unable to verify Financial Institution' error.
Last updated
To import a DocuClipper bank statement into QuickBooks Desktop, download the statement as a QBO Web Connect file (including routing and account numbers), deactivate any existing live bank feed on the target account, then in QBD go to File → Utilities → Import → Web Connect Files and select the .qbo.
QuickBooks Desktop treats Web Connect imports like a real bank feed, so transactions land in the register with proper vendor matching and rename rules. If you hit "Unable to verify Financial Institution," re-export from DocuClipper with a different bank selected — most commonly Chase Web Download as a generic fallback.
How do I import a DocuClipper bank statement into QuickBooks Desktop?
The flow is three steps: download the Web Connect file, prepare the target account, then run the Web Connect import.
Step 1: Download the Web Connect file
- Open the project containing your converted statement.
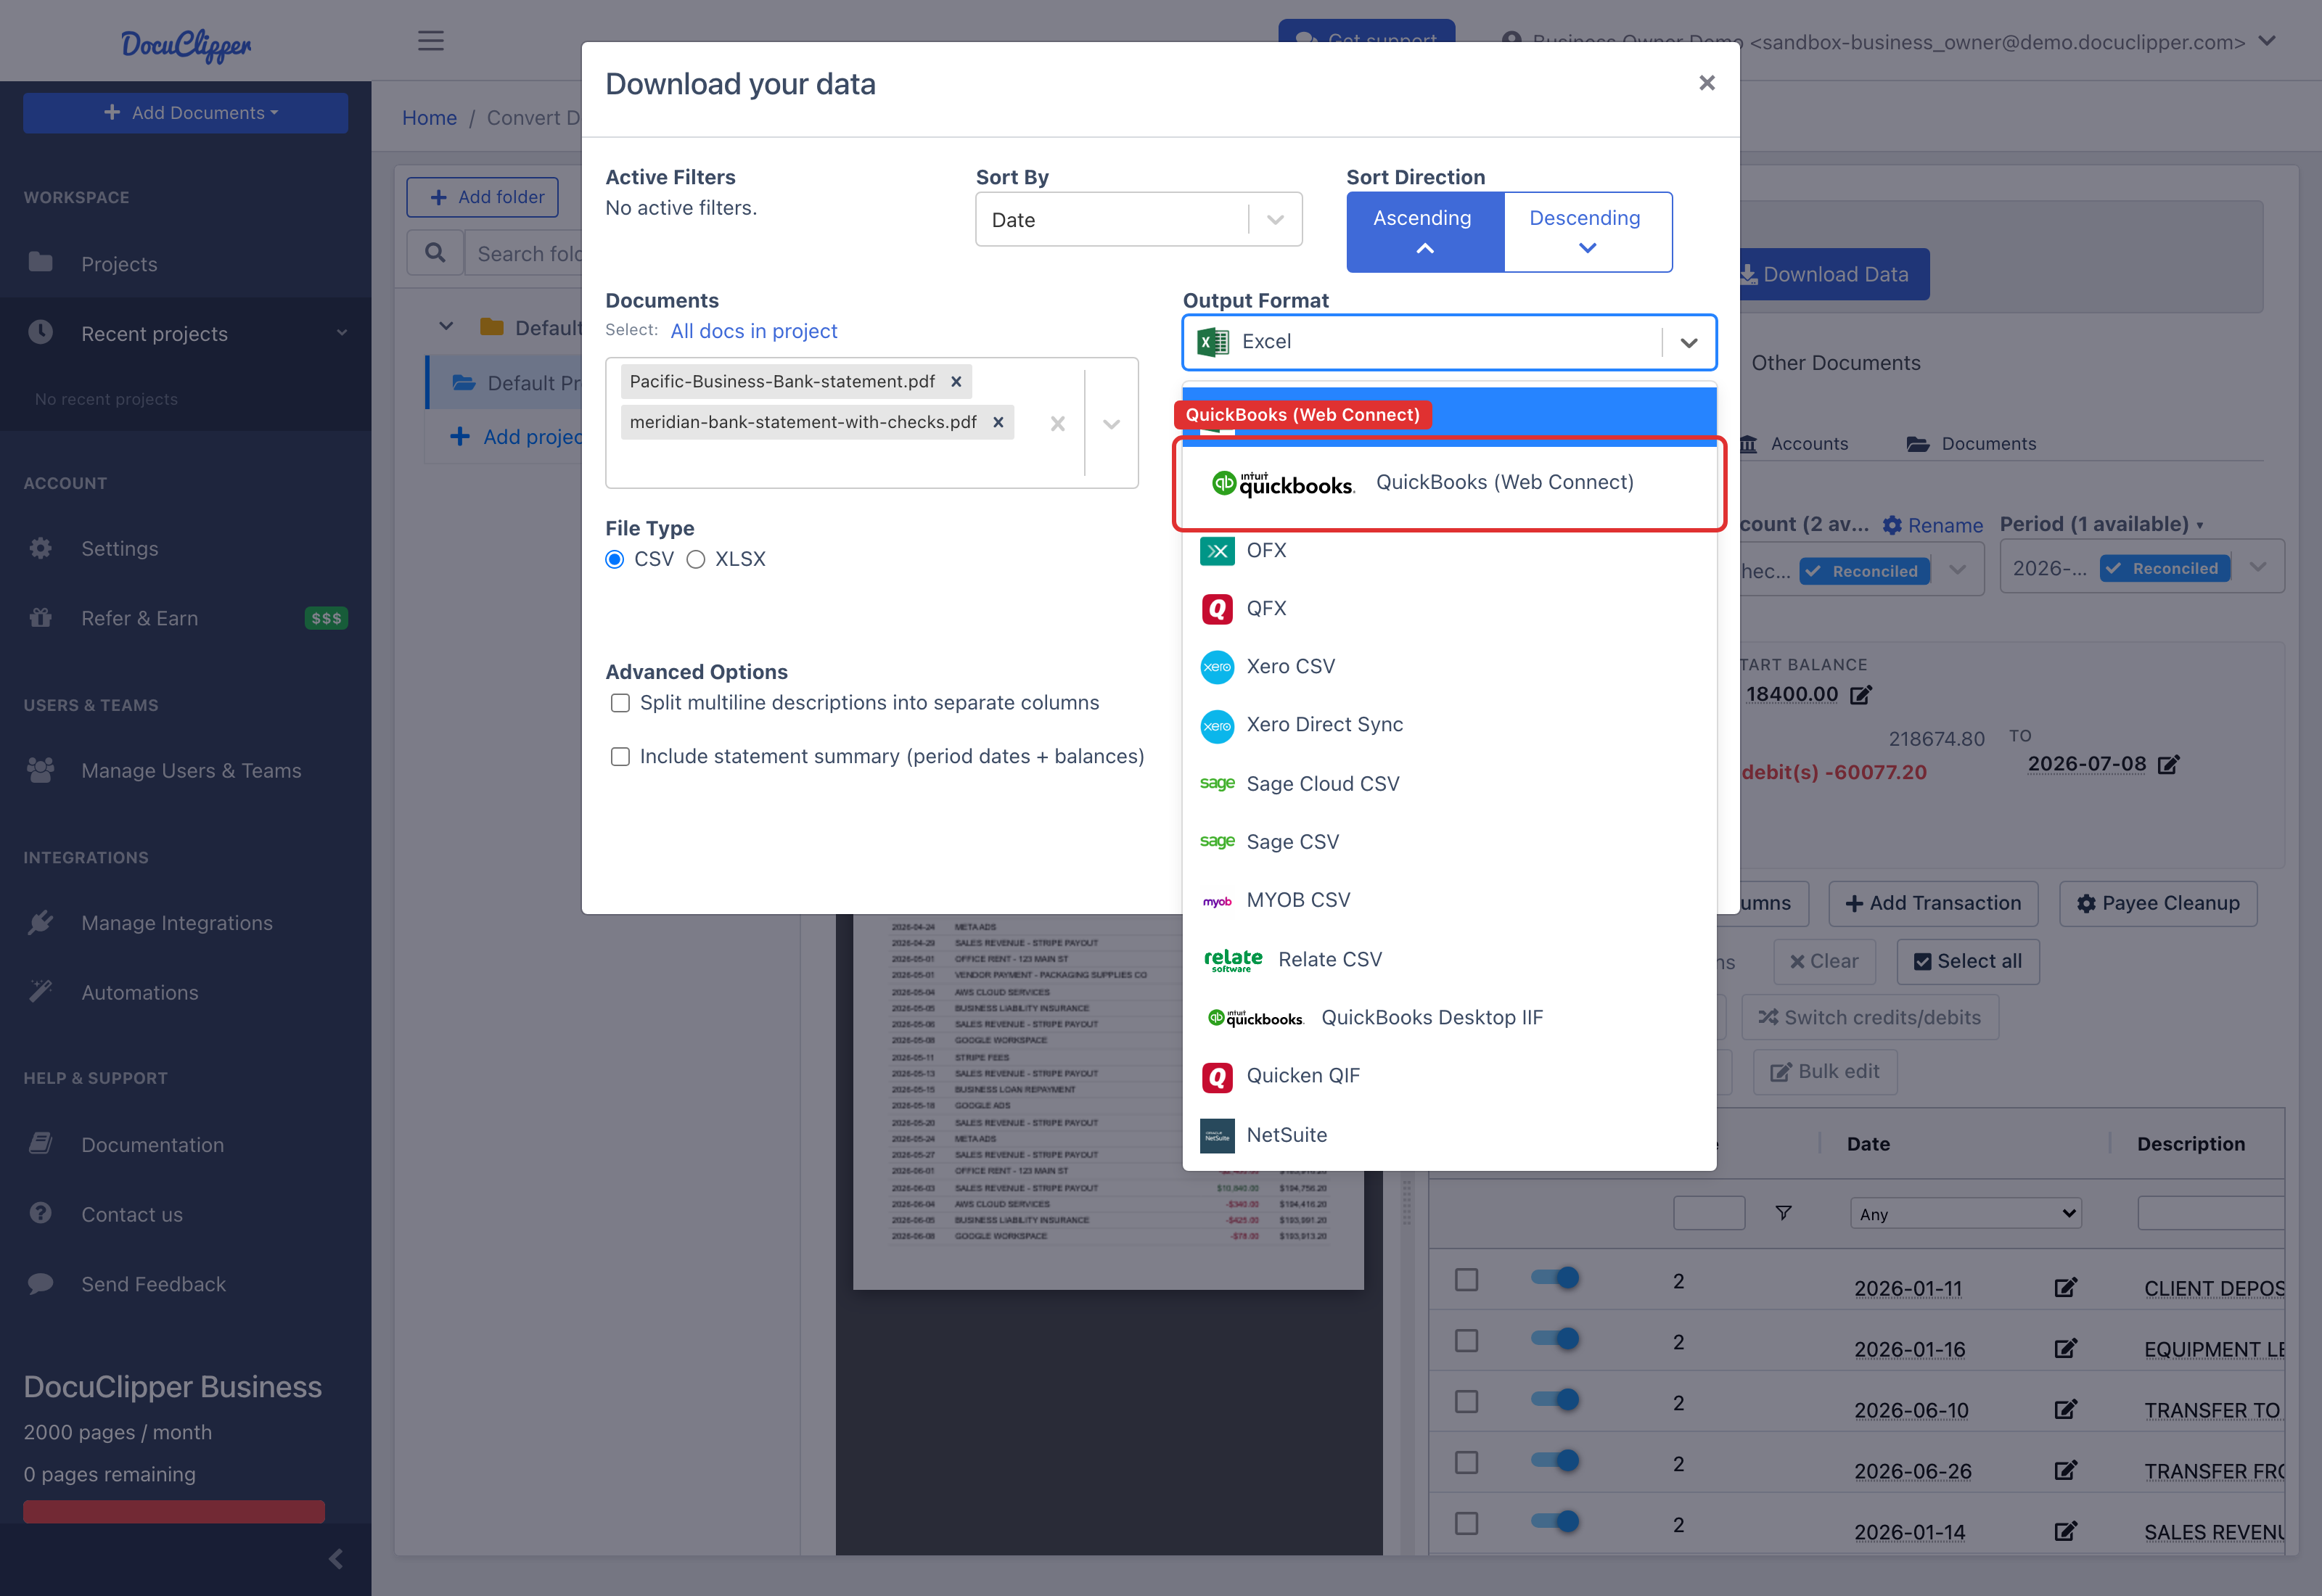
- Click Download Data, then under Output Format select QuickBooks (Web Connect).
- Fill in the bank details:
- Bank: search for the issuing bank. If it isn't listed, pick Chase Web Download as a generic fallback.
- Account type: Checking / Savings or Credit Card.
- Routing number: shown for Checking / Savings. Optional for QuickBooks Online but strongly recommended for QuickBooks Desktop — QuickBooks uses it to auto-match the file to an existing account.
- Account number: optional but strongly recommended for QuickBooks Desktop for the same reason.
- Currency: match your company file currency.
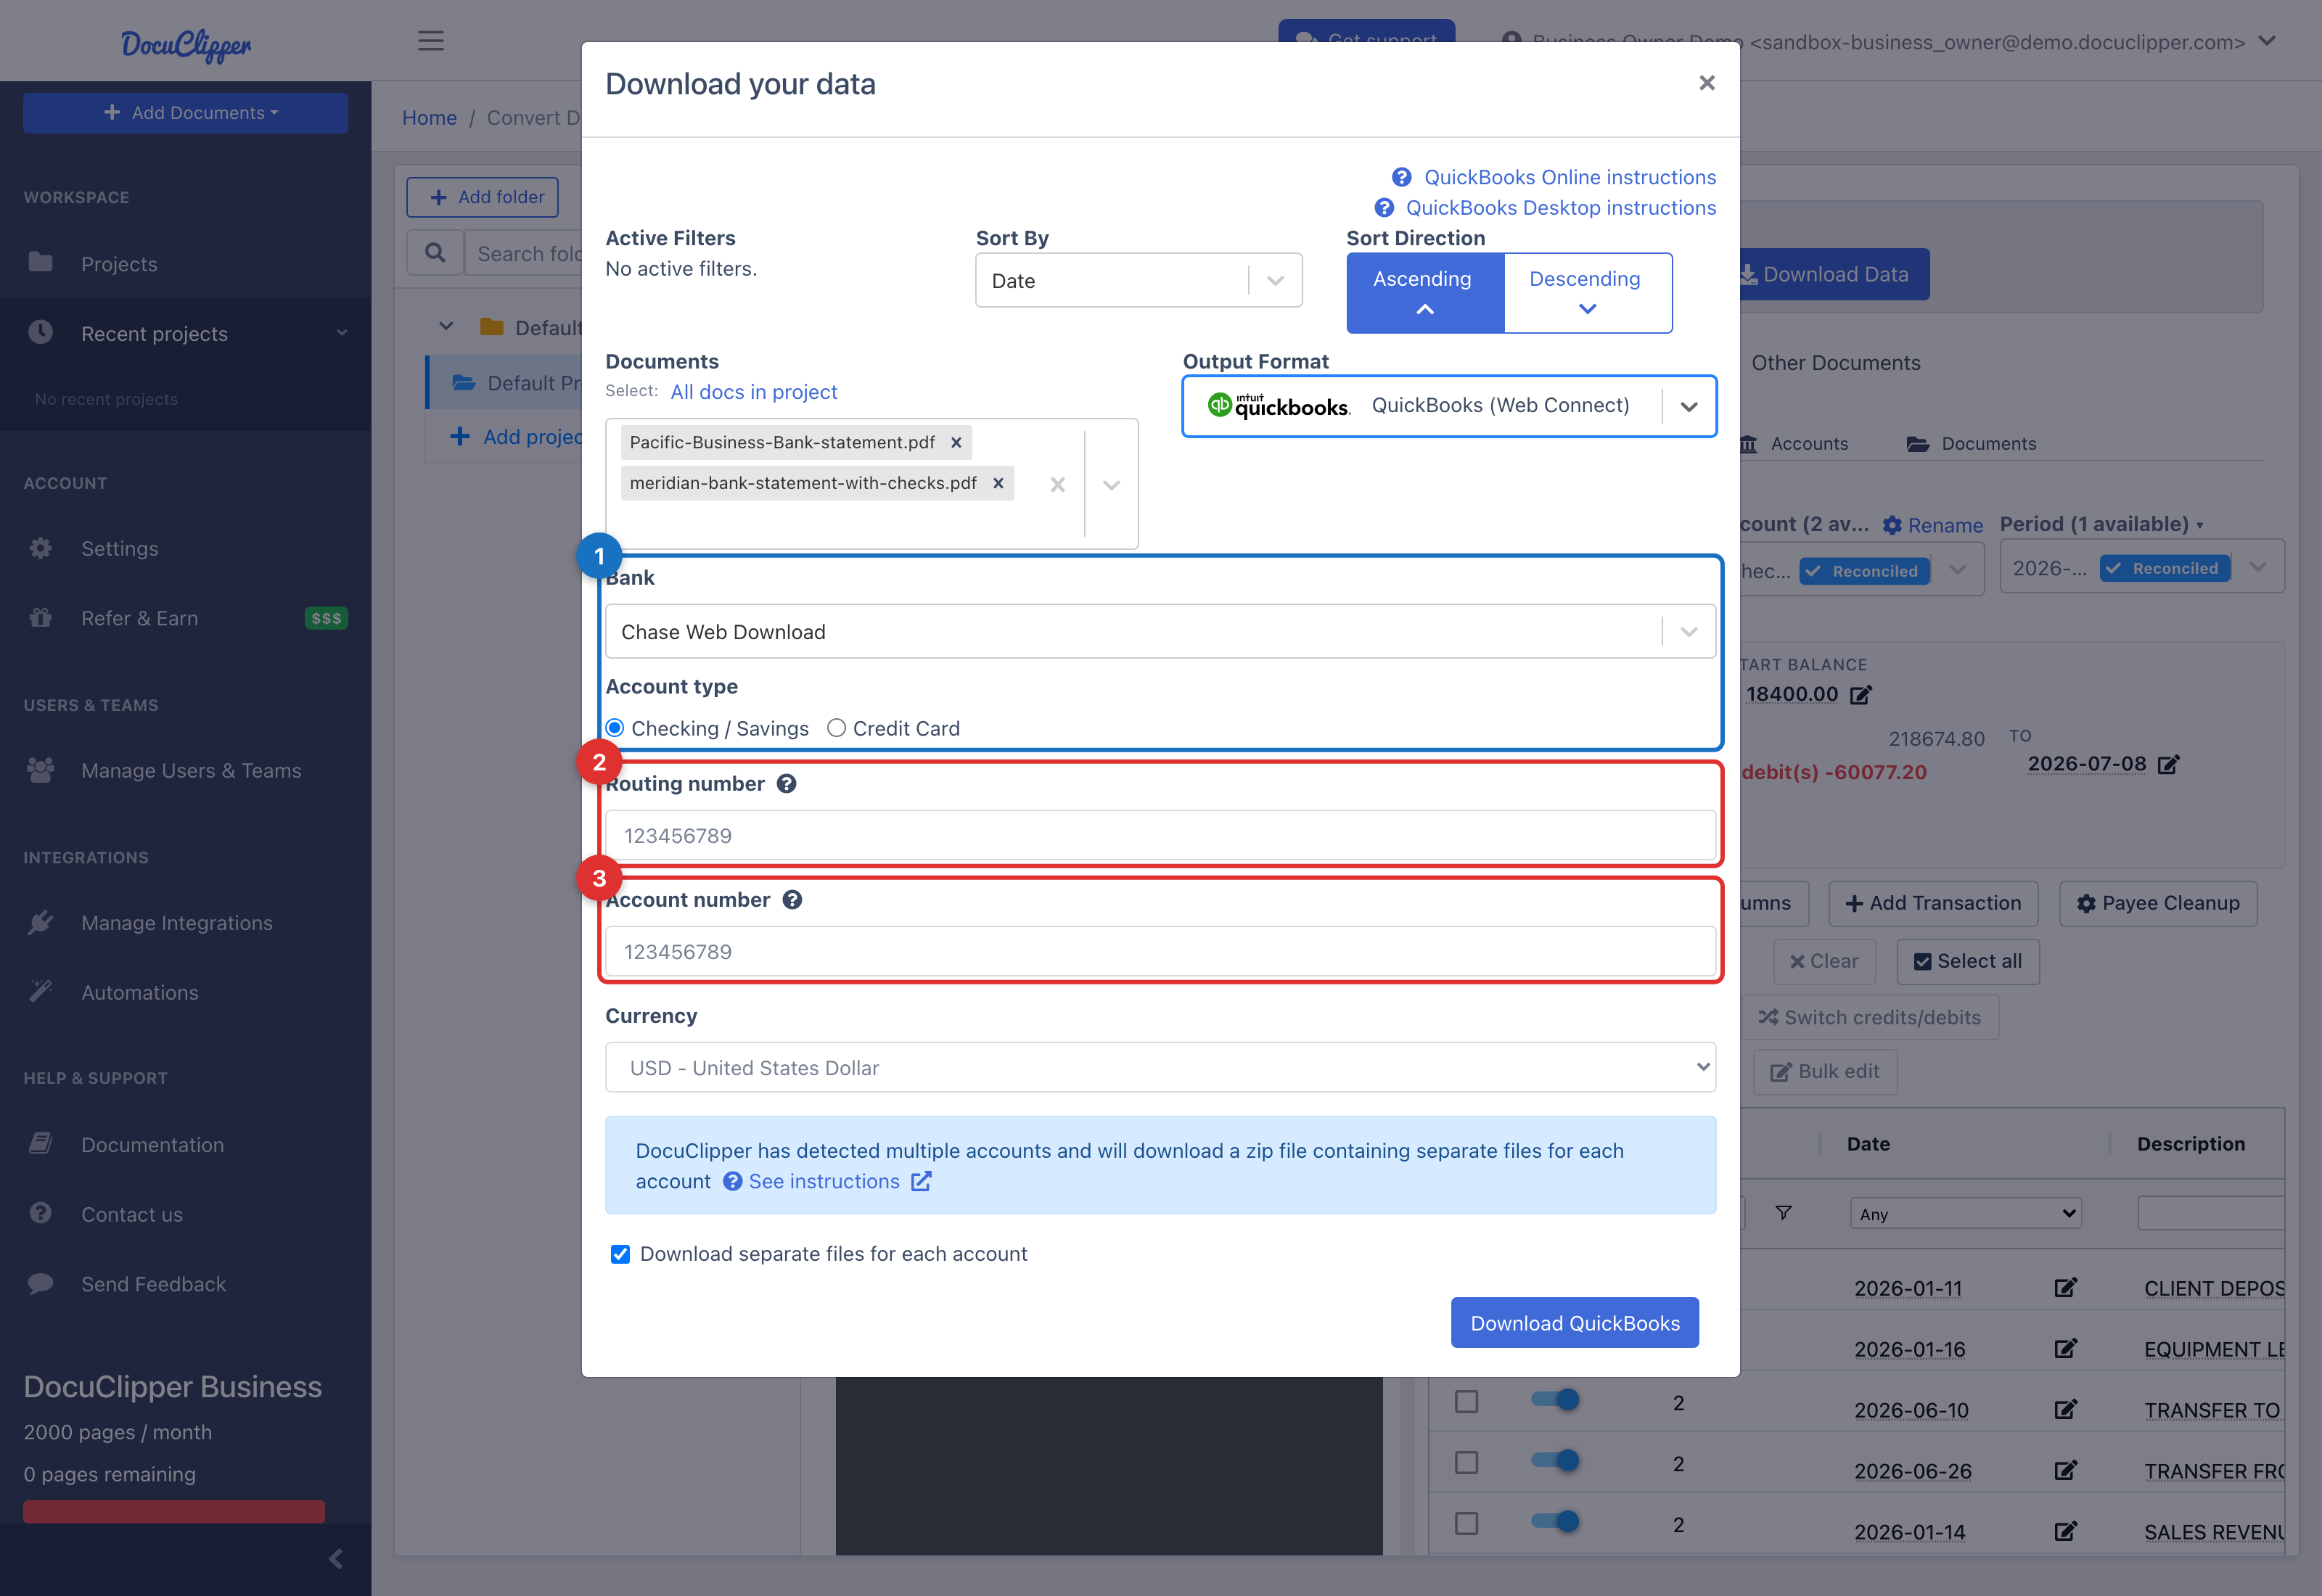
- Click Download QuickBooks to save the
.qbofile.
Step 2: Prepare the target account
In QuickBooks Desktop, open Lists → Chart of Accounts and find the bank account you want to import into.
If the account shows a yellow strike icon (direct-connect live bank feed), you must disconnect it before importing a Web Connect file. Otherwise QuickBooks will refuse the import.
Right-click the account → Edit Account.
On the Bank Feed Settings tab, click Deactivate All Online Services. Confirm that the yellow icon is gone from the Chart of Accounts. The account is now ready to receive a Web Connect import.
Step 3: Import the Web Connect file
In QuickBooks Desktop, go to File → Utilities → Import → Web Connect Files and select the .qbo file from DocuClipper.
Pick the target account in QuickBooks. Verify bank label, account type, and account number match before you continue. Click Continue.
The transactions are now in QuickBooks Desktop's bank feed queue.
Step 4: Review and add to the register
Click Transaction List to see the imported rows. Assign a Vendor and an expense/income account to each one before adding it to the register.
The Downloaded as column shows the raw description from the statement. The Payee column is where you map it to a QuickBooks Vendor. The first time you map a payee, QuickBooks offers to create a rename rule so future imports pick up the same vendor automatically.
If you need to see the original bank description next to the mapped vendor, click Show Bank Memo to reveal that column.
Once vendor and category are set, click Add to post the transaction. QuickBooks prompts you to create a rename rule. Accept it and subsequent imports for that payee will map automatically.
Handling Import Errors
"Unable to verify the Financial Institution"
If QuickBooks shows "QuickBooks is unable to verify the Financial Institution information for this download", the bank ID in the file doesn't match QuickBooks's internal list. Fix it manually:
- Open the Web Connect file with a text editor (e.g. Notepad)
- Replace FID and INTU.BID numbers with the right bank number from this list. E.g. for Wells Fargo, the number is 3000:
- <FID>03000</FID>
- <INTU.BID>03000</INTU.BID>
- If the bank has multiple entries, select the one that says “WebConnect”.
- If the import is successful Email support so we can fix the number permanently.
- If the bank is not listed select “Chase Web Download”.
QuickBooks doesn't show an existing account
If QuickBooks doesn't show your existing account in the dropdown during import, the routing and account numbers in the Web Connect file don't match the ones QuickBooks has on record. Re-download from DocuClipper with the correct routing/account numbers, or edit the account in QuickBooks so the numbers match.
FAQs
How do I import a Web Connect file into QuickBooks Desktop?
In QuickBooks Desktop, go to File, Utilities, Import, Web Connect Files and select the .qbo file from DocuClipper. Pick the target account, confirm the bank label and account number match, and click Continue to load the transactions into the bank feed queue.
Why am I getting "Unable to verify the Financial Institution"?
The FID or INTU.BID in the .qbo file does not match QuickBooks' internal bank list. Open the file in a text editor, replace the values with the correct number from the FI directory, or pick Chase Web Download as a generic fallback.
Do I need to disconnect my online banking before importing?
Yes, if the account shows a yellow strike icon for an active direct-connect feed. Edit the account, open Bank Feed Settings, and click Deactivate All Online Services before importing the Web Connect file.
Why doesn't my existing account show up in the import dropdown?
The routing and account numbers in the Web Connect file do not match what QuickBooks has on record. Re-download from DocuClipper with the correct numbers or update the QuickBooks account to match.
Should I include the routing and account numbers when exporting?
Yes, it is strongly recommended for QuickBooks Desktop. QuickBooks uses these numbers to auto-match the file to an existing account on import.
Does QuickBooks auto-match vendors from a Web Connect import?
Not on the first import. After you map a payee once, QuickBooks offers to create a rename rule so subsequent imports map the same description to that vendor automatically.