In this help article, we are going to show you how you can easily add, delete, or reactive users in your DocuClipper account.
How to Add More Users #
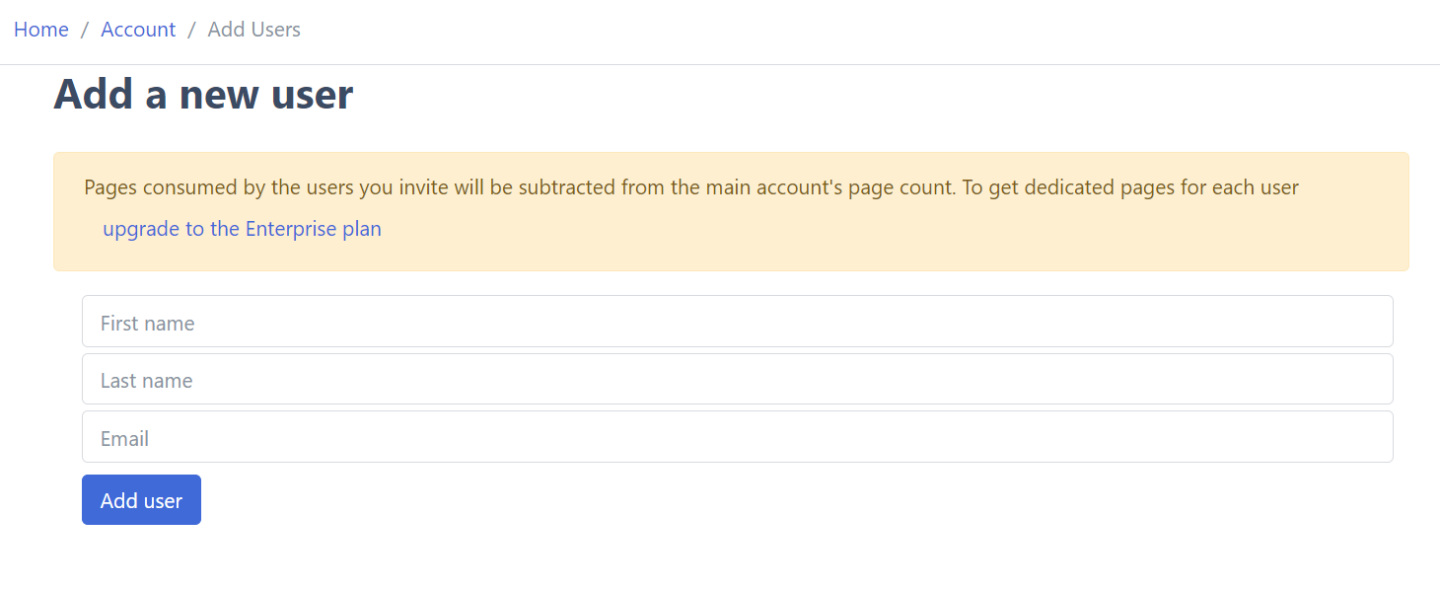
DocuClipper allows you to add unlimited users to your account. Pages consumed by the users you invite will be subtracted from the main account’s page count. To get dedicated pages for each user upgrade to the Enterprise plan.
To add more users to DocuClipper follow these instructions:
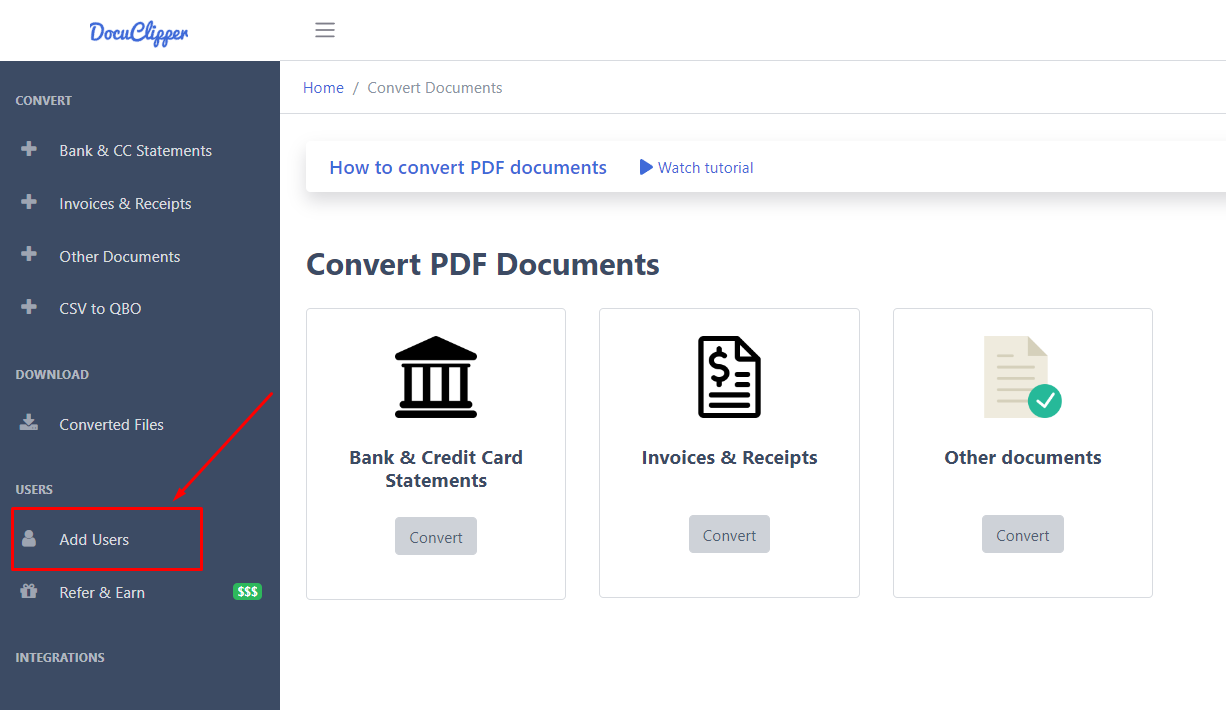
1. In your DocuClipper account, in the left sidebar select “Add Users”.
2. Here you’ll need to enter the new user’s First Name, Last Name, and Email address and click “Add user”.
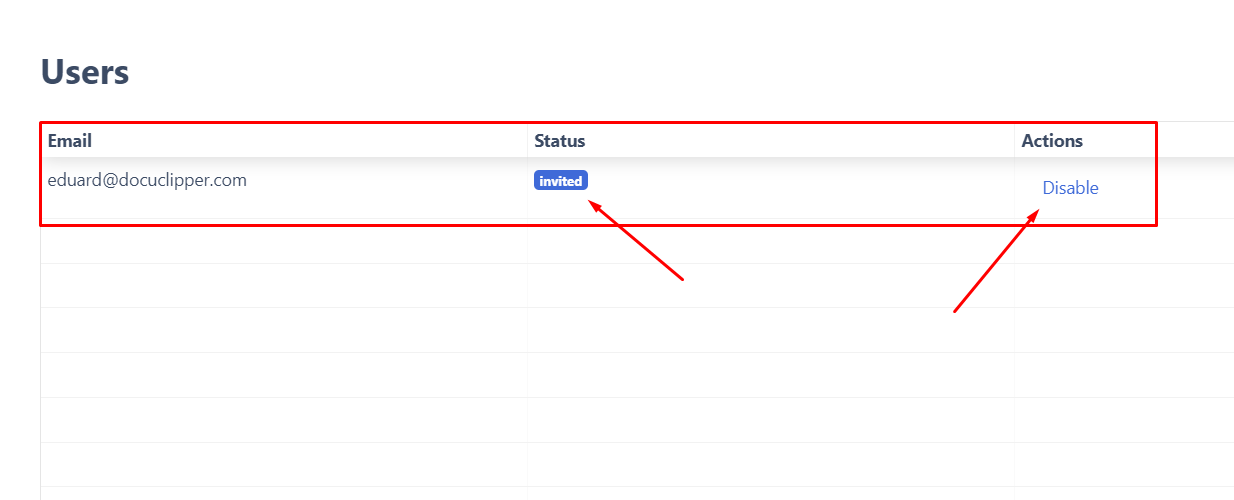
3. After the new user is added, you’ll see it in the Users table with the Status being “Invited”. You can easily disable the action if you no longer wish to add the user.
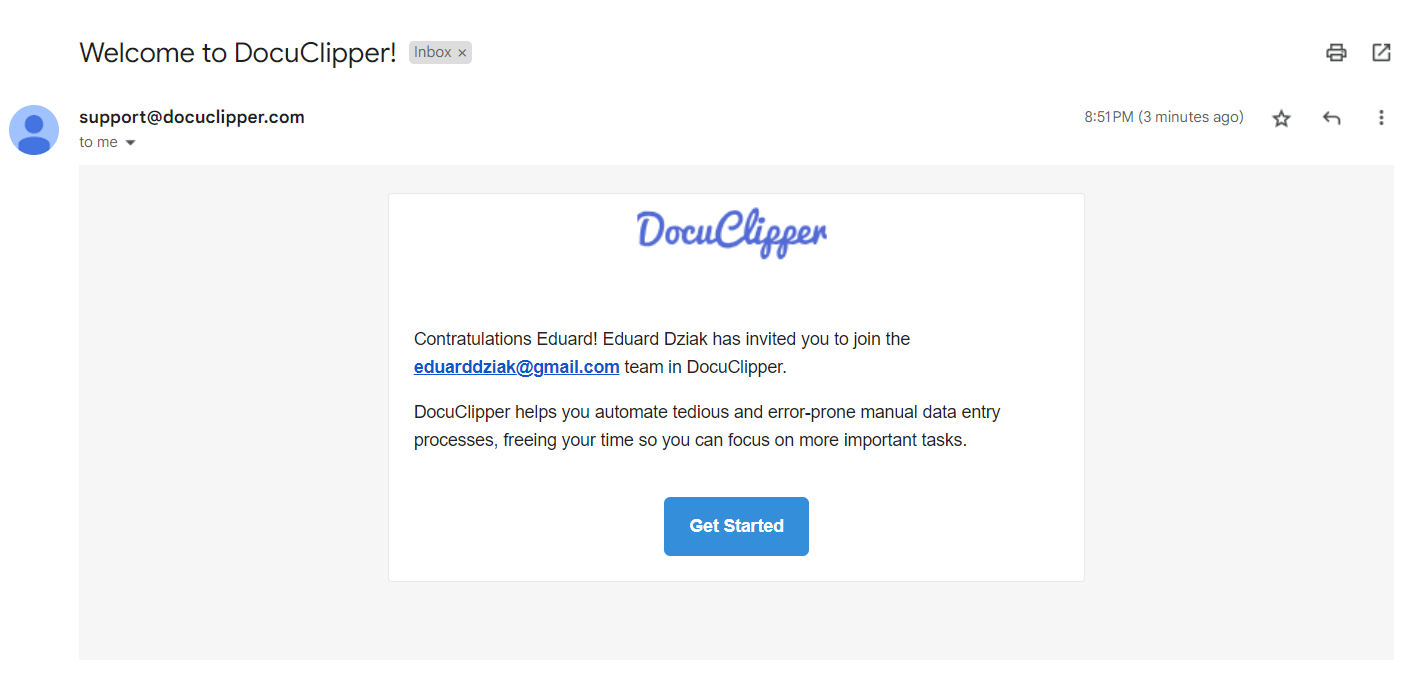
4. After the user is added, then an email invite will be sent to the provided address and the user will need to accept the invitation.
5. This will lead the user to create a new account, starting with setting a new password.
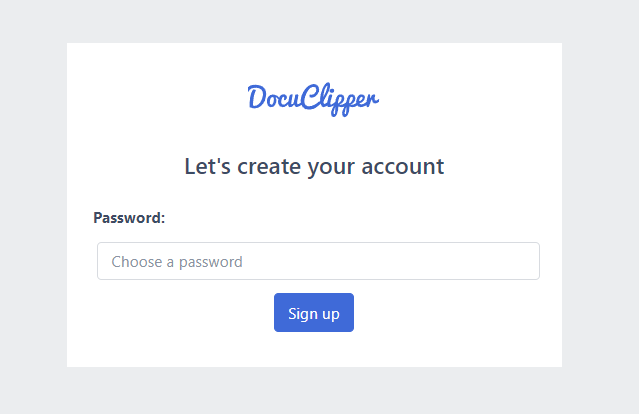
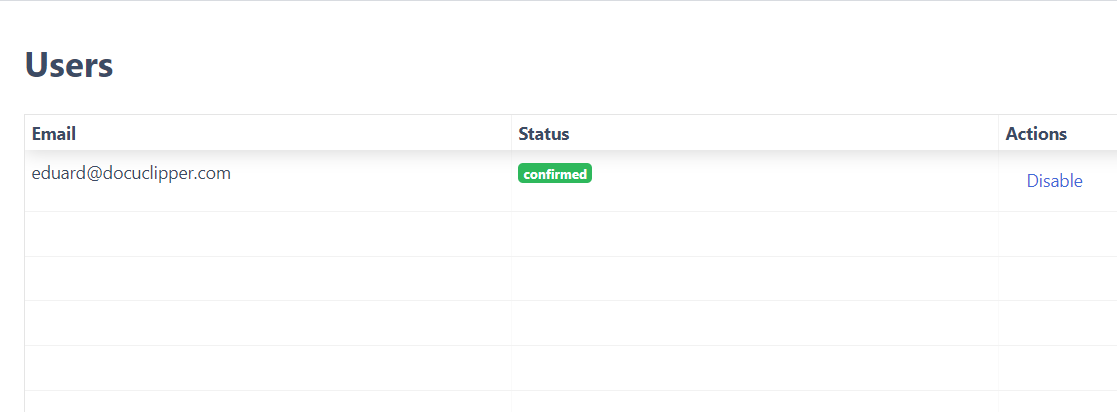
6. Once the user set the new password, then he/she can start using DocuClipper. Also, in your Users table, you can see that the status is not Confirmed.
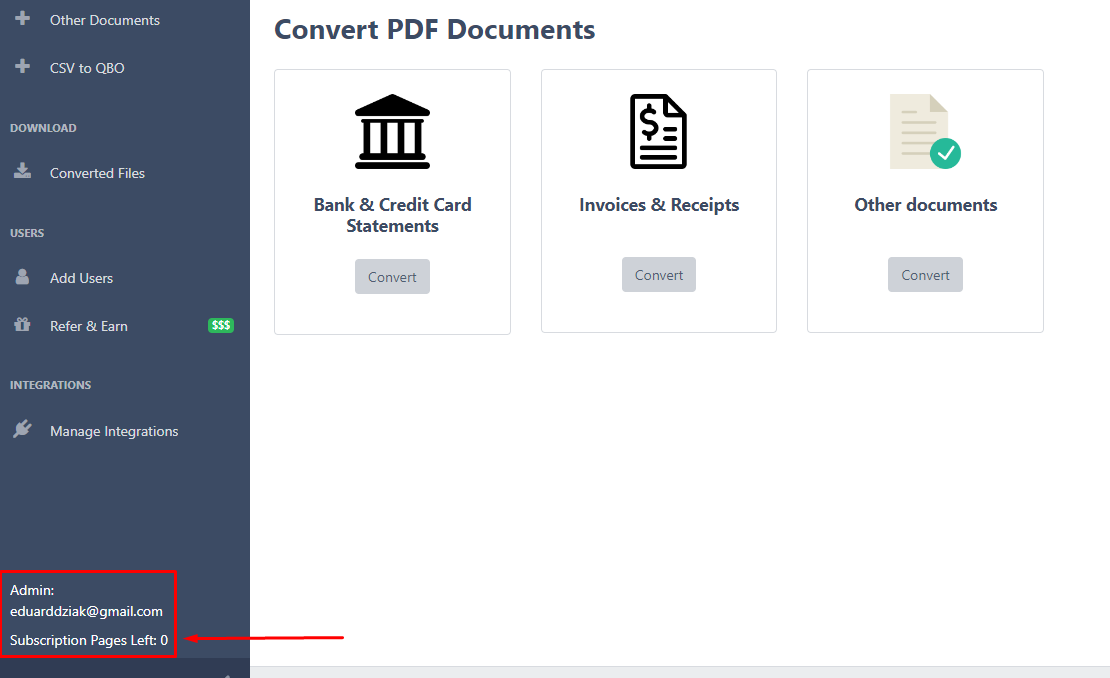
7. Additionally, the user will be able to see how many subscription pages is left and who is the Account admin.
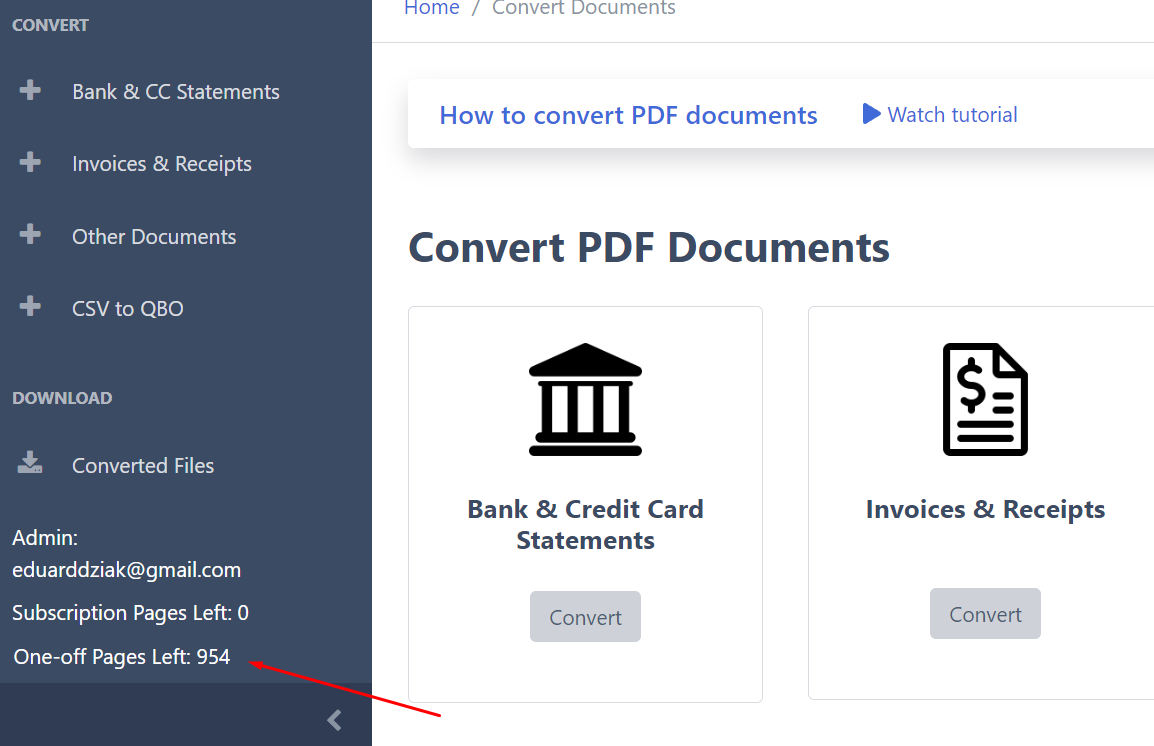
Remember, unless you’re having Enterprise plan, you’re sharing the number of pages per account.
How to Delete Users #
If you wish to delete your users in your DocuClipper account, follow these instructions:
1. In the left sidebar select “Add users”.

2. Here locate the user that you want to delete from your account and click on “Disable” under the action column.
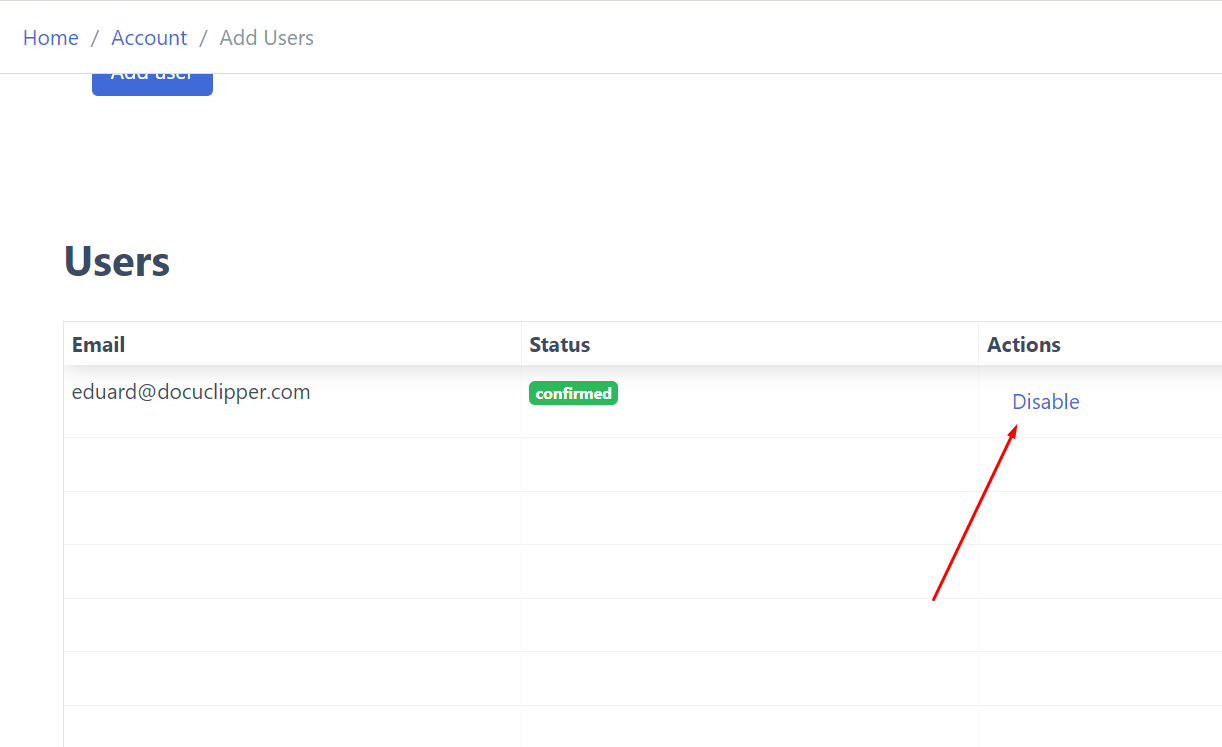
3. And then select “Disable seat”.
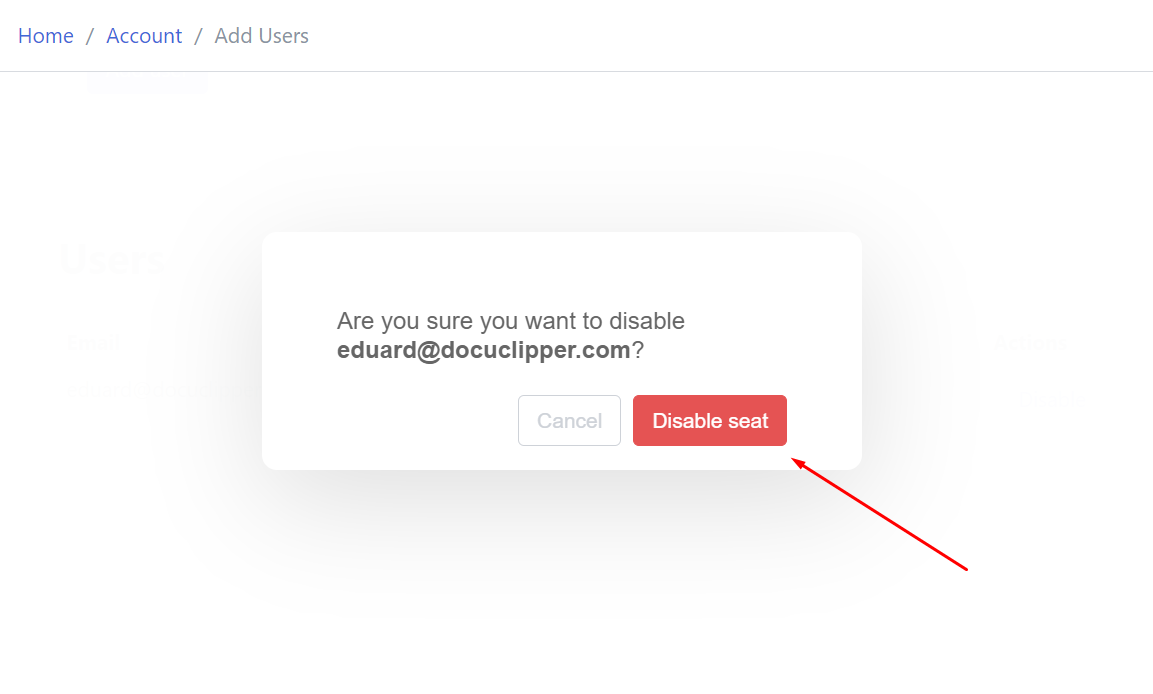
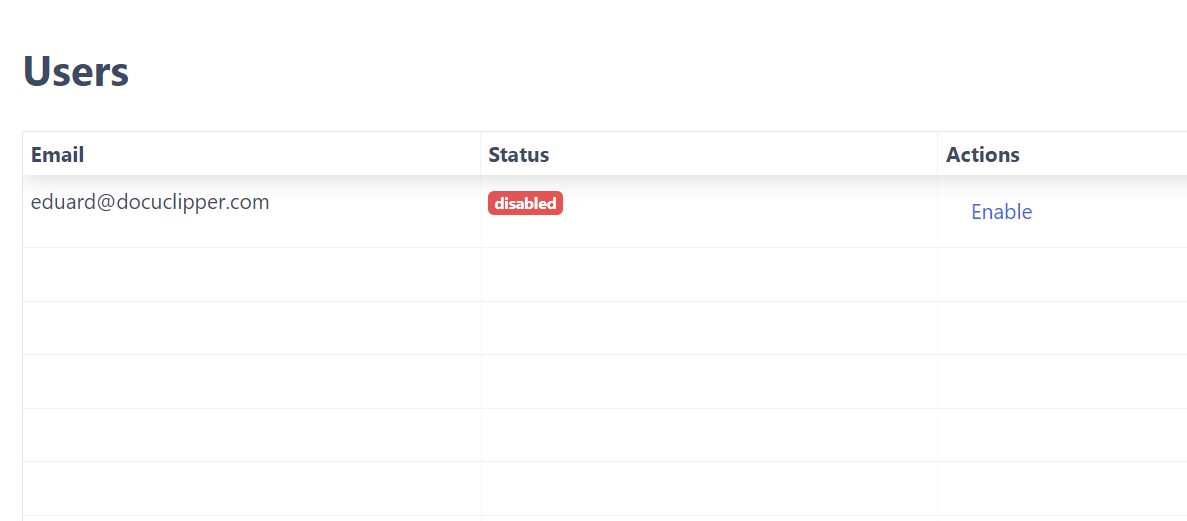
4. After disabling the seat, you’ll see that the Status changed to “Disabled” confirming that the user won’t be able to convert pages from your account quotas.
5. After the user has been disabled, the user will see 0 subscription pages available.
How to Reactive User #
If you wish to reactive any previous user follow these instructions:
1. In the DocuClipper dashboard, go to “Add users” in the left sidebar.

2. Here located the user that you wish to reactive and click on “Enable” in the Actions column.
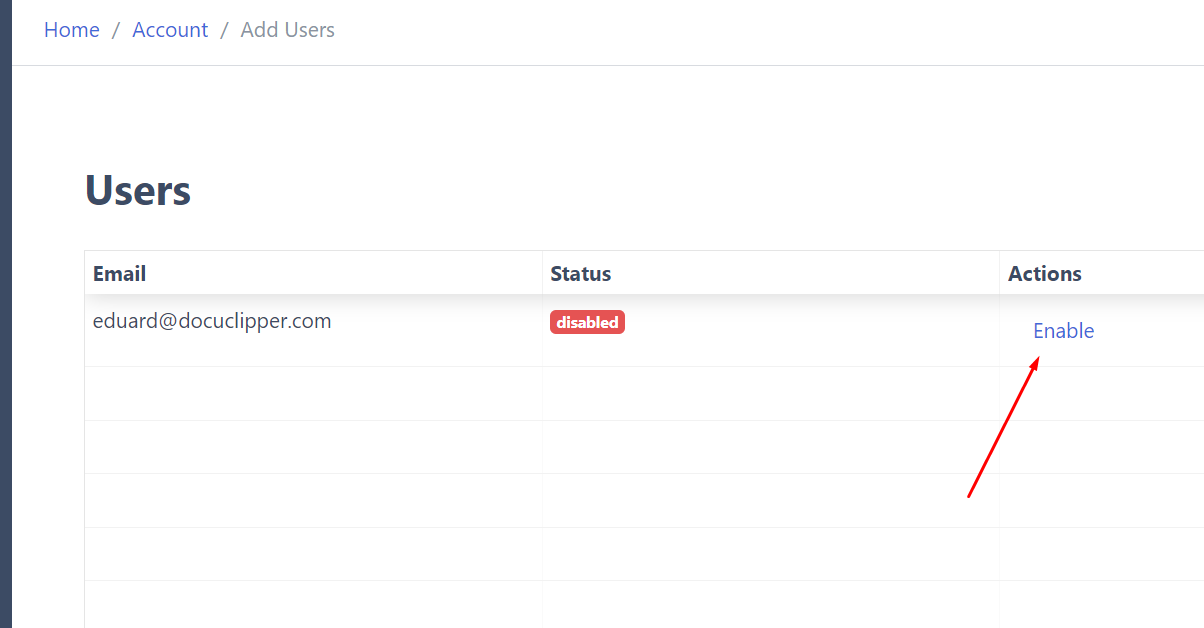
3. This will change the status to “Confirmed”.
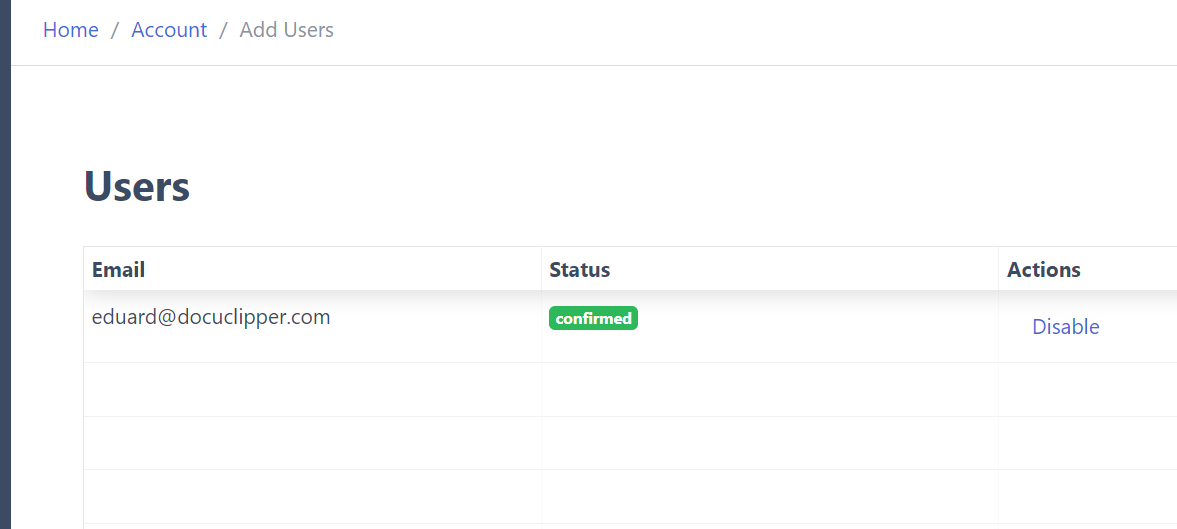
And the user will be able to see how pages are left in the bottom corner of the sidebar and who is the admin.


